Logging Placement Hours
How to: Log Placement Hours on ProPortal (ILP)
There is a new look to work placements this academic year on ProPortal.
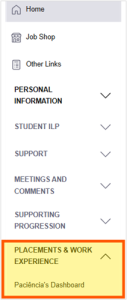
To navigate to your placements from your ILP homepage, click on the arrow next to ‘PLACEMENTS & WORK EXPERIENCE’ on the left-hand menu. Then click on your dashboard.
You will then see your current placement and hours. Plus, a list of all your placement records and a list of your time logs.
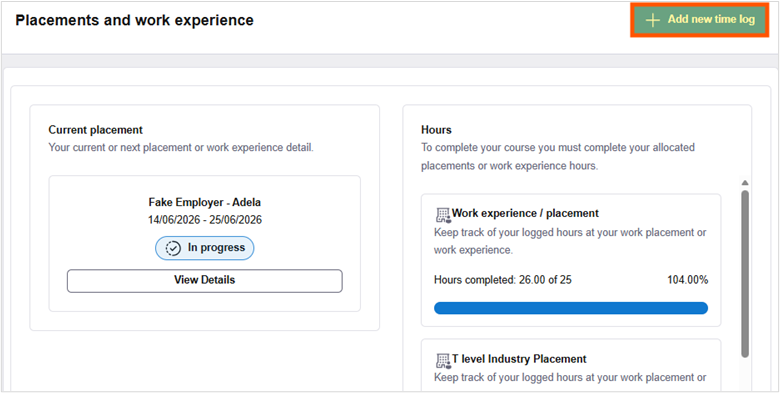
To add hours to a placement, click on the ‘+ Add new time log’ button at the top of the screen.
A log will not save unless you have completed all fields. However, you can save a log as a draft and go back and add extra hours and information.
Time Log Fields:
- Week Commencing
- Placement: the drop-down menu will generally only have one placement to select here.
- Weekly Hours: add the number of hours per day if working on multiple days.
- Total for week: this will be automatically generated using the hours from the above field.
- Weekly diary comments: this should include the activities and experiences of that week, linked to skills development.
- Skills developed this week: there is a list of five skills (see below). You can select one or more skills each time.
- Communication
- Collaboration
- Creative thinking
- Digital skills
- Organising, planning and prioritising
- A file can be uploaded, such as a time sheet.
- Then click ‘Save draft’ if you wish to add additional hours/information or ‘Submit’ if the time log is complete.
To return to a draft time log:
- Click on the arrow next to ‘PLACEMENTS & WORK EXPERIENCE’.
- Click on your dashboard.
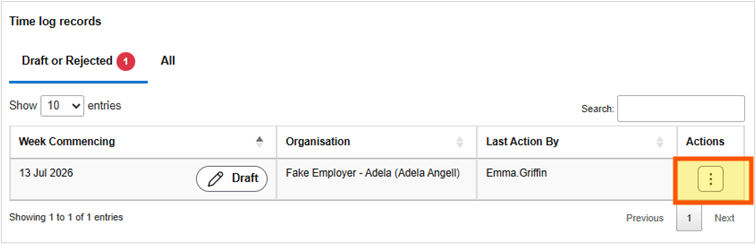
- Scroll to the bottom of the page to the ‘Time log records’ table.
- Click on the ‘Actions’ button at the right-hand side of the table.
- Add additional hours/information.
- Click ‘Save draft’/‘Submit’.
Sign-off:
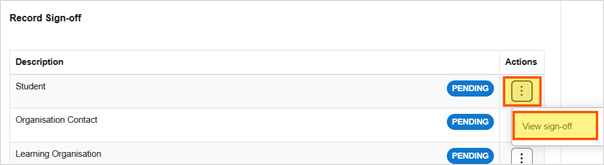
Once your placement has been completed, a ‘Record Sign-off’ grid will appear within the placement details.
Click on the ellipsis button next to ‘Student’ and click ‘View sign-off’ to open the sign-off dialogue box
.
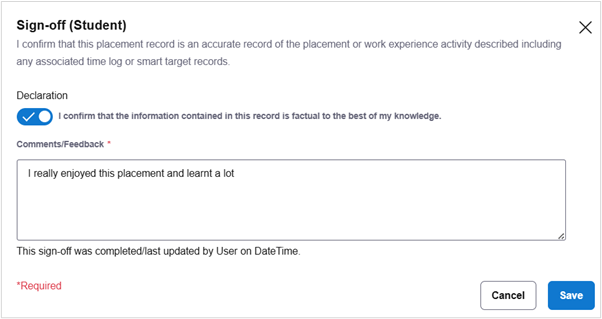
Make sure the ‘Declaration’ button is checked (it should look like below).
Give a short summary/feedback about the placement, then click ‘Save’.